Robot Vision System
The Robot Vision System
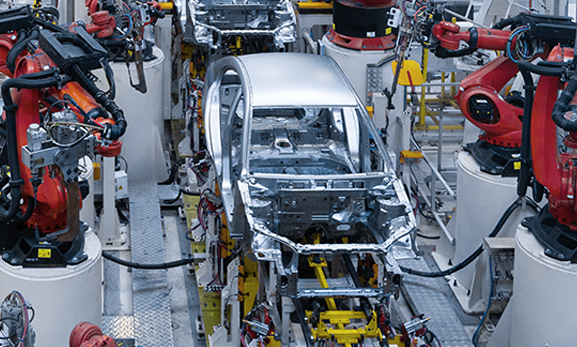
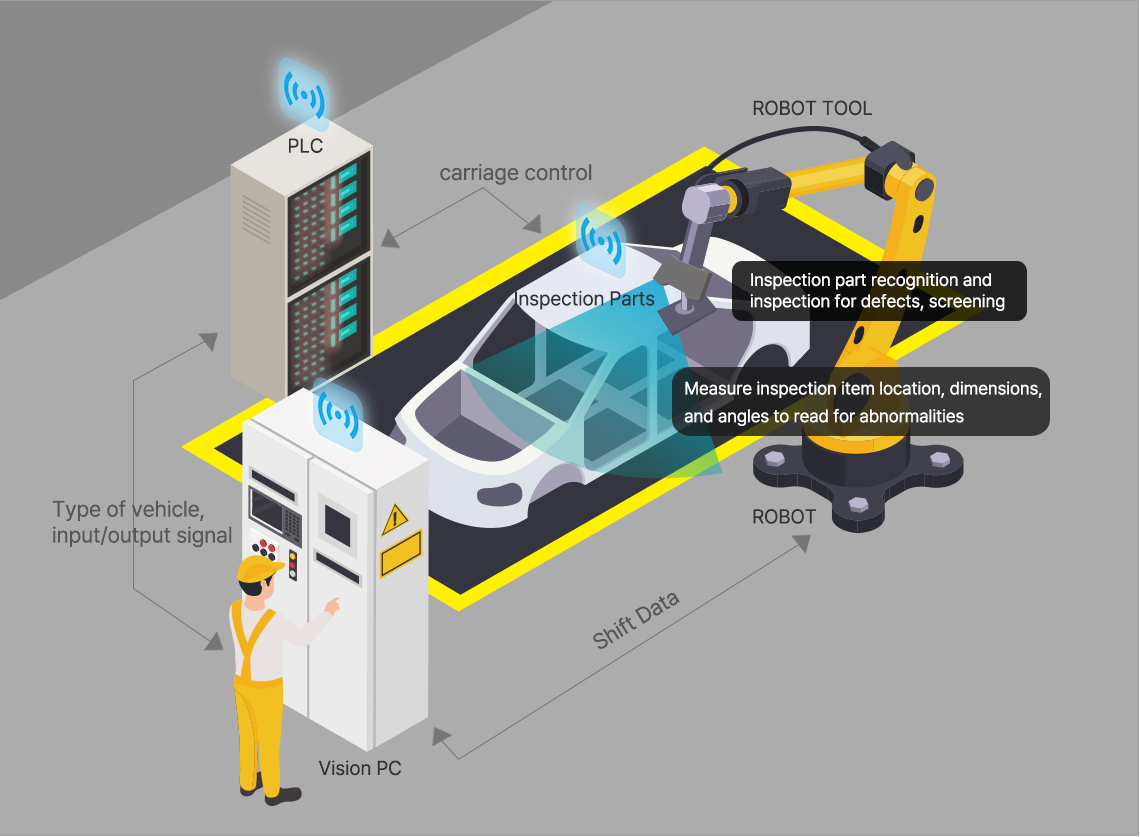
is a machine vision system using industrial robots, a high speed/high precision visual sensor system that simultaneously processes various types of vehicles in one process line.
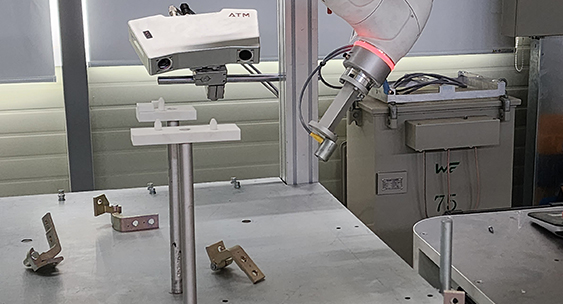
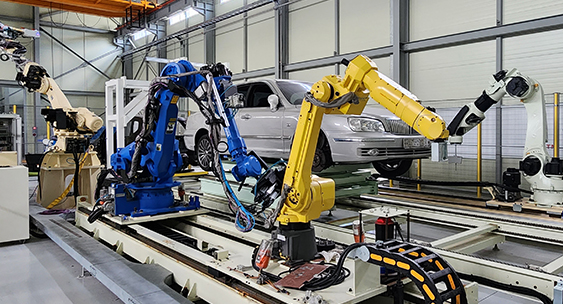
The robot vision system utilizes a variety of 2D/3D vision sensors and industrial robots.
The vision system consists of industrial cameras (vision sensors) and lighting PCs, and is a contactless equipment that processes and utilizes images acquired through cameras, and can be applied in various ways to factory automation.
It is a system that produces, assembles, inspects, etc., and meets the unmanned factory automation trend.
Our unique trimming and sealing technologies have been applied to overseas automobile manufacturing lines and boast innovative technologies that can more accurately recognize the shape of 3D objects and handle any vehicle type.
 |
ATM Robot Vision System Features
· Great for industrial sites with industrial PCs and industrial cameras. · COGNEX / Apply a stable vision algorithm using its own algorithm. · Supply custom production (OEM) vision system. |
 |
|
ATM Robot Vision System Features
· Great for industrial sites with industrial PCs and industrial cameras. · COGNEX / Apply a stable vision algorithm using its own algorithm. · Supply custom production (OEM) vision system. |
ATM Robot Vision System
 |
 |
Applications of Robot Vision System to Automobile Manufacturing Processes
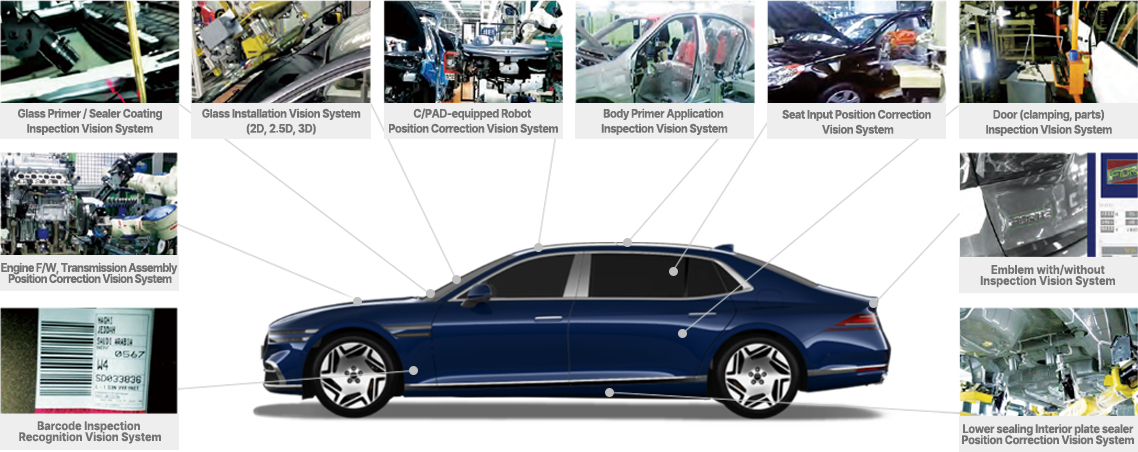
Robot Vision Systems are being developed and supplied not only in automobile manufacturing processes but also in various industrial sites.


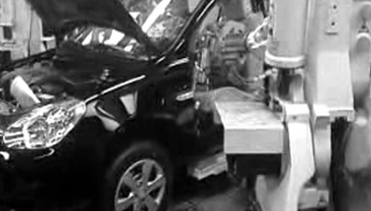 |
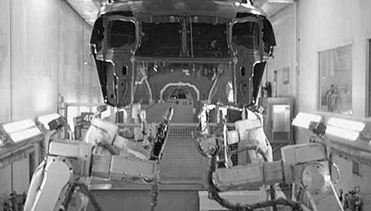 |
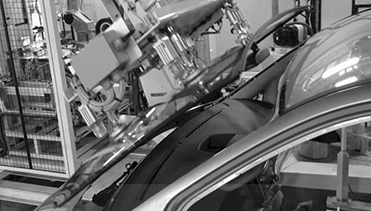 |
| Sheet input | UBS | Glass position correction |
| 01 Position Correction Vision System | 02 Inspection Measurement Vision System |
Position Correction Vision System
The Position Correction Vision System measures the position of the product and corrects the position of the product in the production equipment in order to align the position of the flexible product placed on the transfer device (conveyors, hangers, etc.) of the factory automation line.
It has patents related to 3D positioning technology using stereo vision sensors and robots.
It is the nation's top position correction vision company with more than 20 years of related installation/commissioning experience and has experience in surrounding automation equipment and various interfaces.
| Features of the position correction vision system |
· Appropriate for industrial sites with the use of industrial PCs and industrial cameras
· COGNEX / Stable pattern matching using its own algorithms · Order Development Production (OEM) Vision System Supply |
||||||||
| classification and application examples |
|
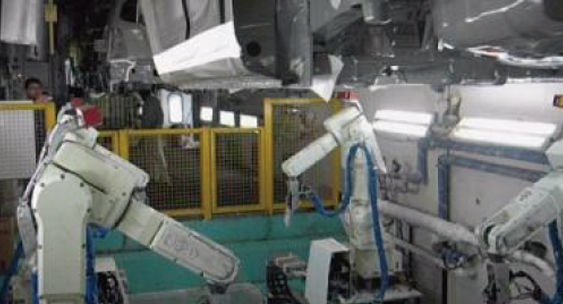 |
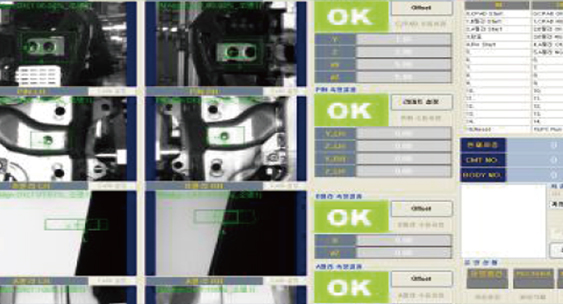 |
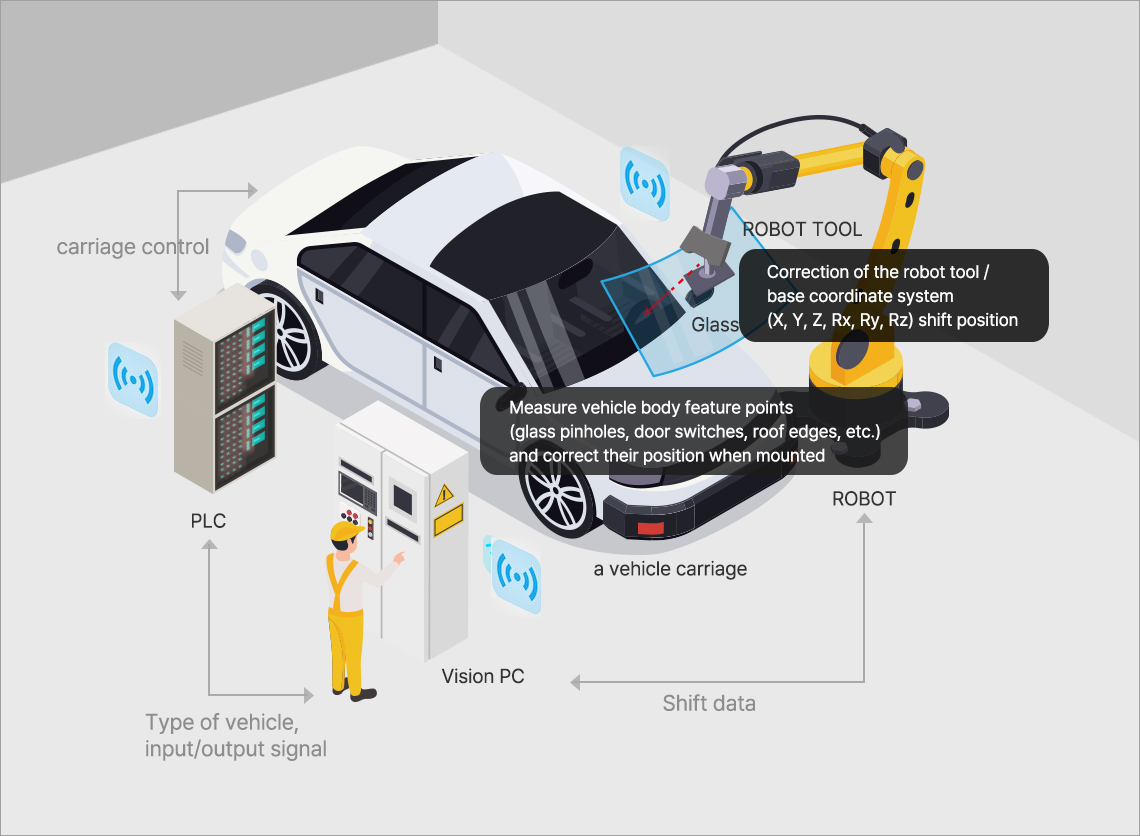
LAY-OUT
| Specification | |
| Vision PC | Windows 10 and later |
| PLC | Melsel, Siemens, ABB, etc |
| Robot | HYUNDAI, YASKAWA, KAWASAKI, FANUC, etc |
| Camera | BASLER, COGNEX, etc |
| Lighting and laser | Varying with installation environment |
| Communication method | LAN, RS 232, etc |
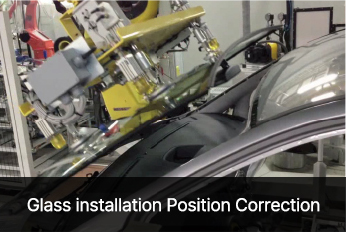
Characteristics
- If the position of the body has not been measured or the position of the body exceeds a certain range, the glass will be installed with the default value entered initially.
- Low NG rate due to algorithm simplification
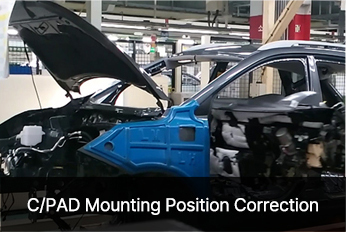
Characteristics
- Multi-pattern registration according to vehicle color
- Wide position calibration range
- Low NG rate due to algorithm simplification
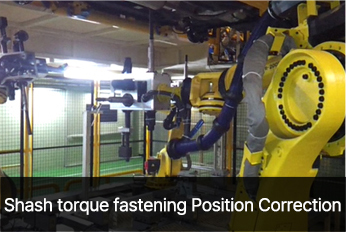
Characteristics
- Wide position calibration range
- Low NG rate
due to algorithm simplification
- Dust prevention due to lower measurement
(automatic camera cover OPEN/CLOSE)
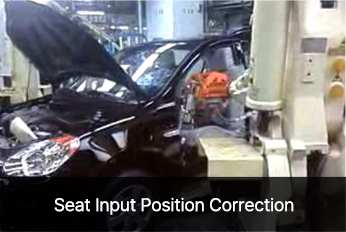
Characteristics
- Wide position calibration range
- Low NG rate due to algorithm simplification
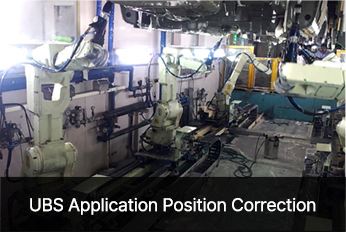
Characteristics
- Wide position calibration range
- Low NG rate due to algorithm simplification
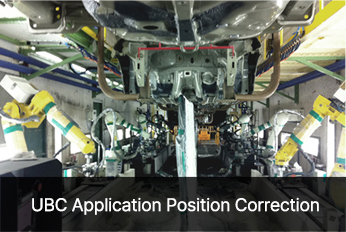
Characteristics
- Wide position calibration range
- Low NG rate due to algorithm simplification
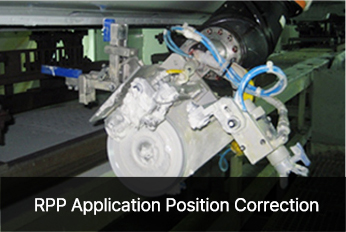
Characteristics
- Wide position calibration range
- Low NG rate due to algorithm simplification
| 01 Position Compensation Vision System | 02 Inspection Measurement Vision System |
Inspection Measurement Vision System
The Inspection Measurement Vision System is "a solution developed in line with the factory's unmanned automation trend" and supplies it to various automated factory automation fields.
Based on stable pattern matching and multi-pattern recognition using the global vision maker COGNEX algorithm and its own development algorithm,
Various application algorithms are applied to various inspection equipment in industrial sites.
| measurement inspection | Measure the actual dimensions produced in the factory line and find defective products Inspection equipment, usually measuring up to 0.01mm. DB and SPC software for quality control of passed and defective products I'm applying. |
| Inspection | By determining the presence or absence of patterns, colors, contrast, illuminance, EDGE, materials, etc. Inspect and screen for defects in the product. |
| ID check | By recognizing various 1D/2D barcodes, marked characters, printed characters, and labels, manufactured It is a technology that facilitates quality control such as tracking and management of products. Regarding ID identification technology, various ID products such as COGNEX's DATAMAN are We have application development/installation/testing technology. |
| Classification | Continuous / Non-continuous, presence or absence inspection / OCR / OCV, barcode recognition |
| Application Examples | Real-time Primer/Sealer Inspection, Door Specification Glass Inspection, ID/OCR Inspection, Engine mount inspection, emblem inspection, brake pedal pin inspection, brake hose inspection, etc. |
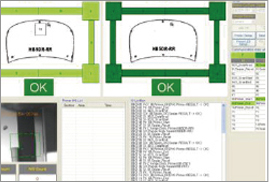
Real-time primer
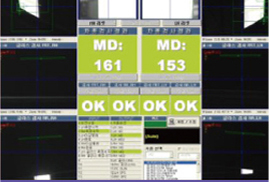
Door specification glass
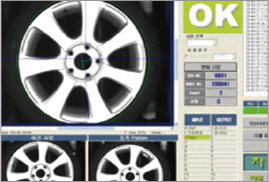
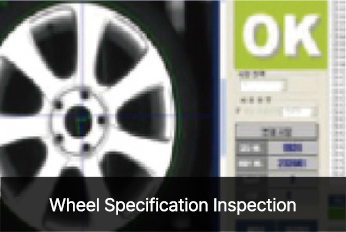
Wheel Specification
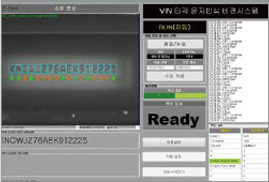
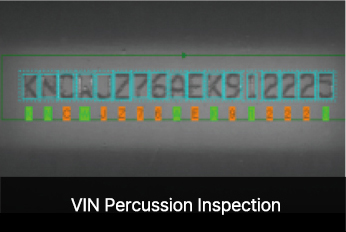
OCR inspection
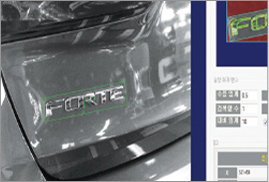
inspection for emblems
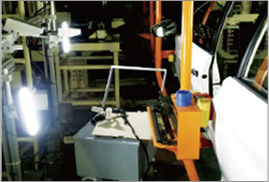
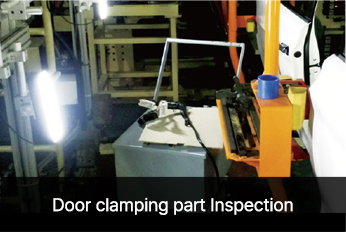
Door clamping part
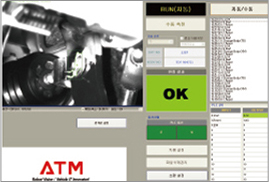
Brake pedal pin
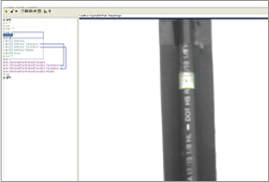
break groove water
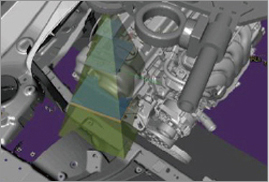
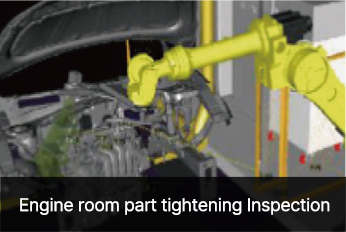
Engine room part tightening
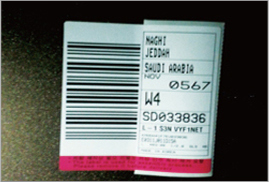
Barcode recognition
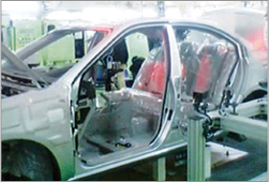
body primer
LAY-OUT
| Specification | |
| Vision PC | Windows 10 and later |
| PLC | Melsel, Siemens, ABB, etc |
| Robot | HYUNDAI, YASKAWA, KAWASAKI, FANUC, etc |
| Camera | BASLER, COGNEX, etc |
| Lighting and laser | Varying with installation environment |
| Communication method | LAN, RS 232, etc |
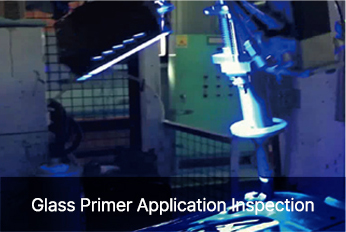
Characteristics
- Zoom-in measurement and calibration for precision angle calibration Primary measurement and calibration (About rotation angle measurement) and calibration, Secondary measurement (Zoom-in rotation angle measurement) and calibration
- Improved robot freedom (using a 7-axis ambidextrous robot)
- Same for panoramic glass
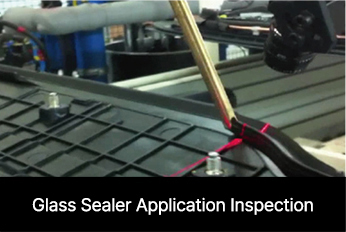
Characteristics
- Applicable to various systems by camera type
- Same for panoramic glass
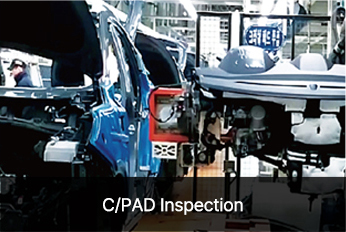
Characteristics
- Register Multi-Patterns
- Check location information
Characteristics
- High resolution GigE camera improves performance and functionality
- Apply uniform illumination effect lighting (top four side LED bar light structured installation)
- Quick response speed (Vision contact time: 1s)
Characteristics
- Use the Trig signal for measurement while on the move
- DB management and HIVIS association
Characteristics
- OCR Character Recognition
- 3 repeated measurements
Characteristics
- Register Multi-Patterns
- DB management and HIVIS association

